Adding Pictures to a Customer's Account
Solution No. 69
Adding Photos:
There's an old adage, "A picture is worth a thousand words". This can be especially true when trying to convey messages in the workplace. There are times when a customer might want some patches done, but isn't sure about others. Being able to differentiate without having to travel to the site to mark them would really come in handy. Maybe your estimator noticed some already present sealer spots on a customer's garage door. Having documentation of the spots on-hand might prevent a fraudulent claim on your insurance. And, who hasn't gotten to a job where you thought you had the right equipment only to find out that you should've brought something else?
Any way you cut it, having pictures available can possibly save you time and/or money. SaaSphalt allows you to store pictures for a particular customer or job site and add those pictures to the proposal and/or invoice.
-
On SaaSphalt, click on the Customers for SaaSphalt tile. This screen will also be the default screen after creating a new customer
-
Click on the name of the customer you wish to edit. To make it easier, use the search function to find the customer. If brought here from the New Customer screen, the new customer’s name will be here by default.
-
Click on New in the Pictures tab.

-
You can skip steps 1-3 by clicking New on the Pictures tile. Doing so will require you to find and select a name in step 9. Following steps 1-3 will enter the selected customer's name by default.
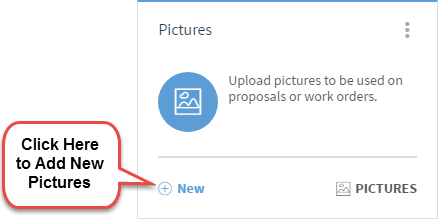
Clicking on either New will bring you to the following screen:
-
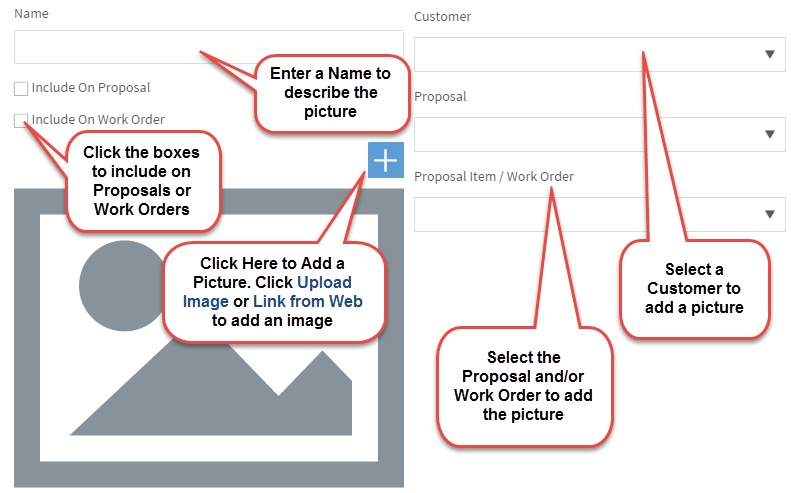
Add a name to describe the pictures (Ex: North Side Patches).
-
Click on the boxes next to Include on Proposal or Include on Work Order to include the photos on the Proposal or Work Orders when printing them.
-
Click on the + symbol over the picture (if it is not there, hover the mouse pointer over the default picture and it should appear).
-
Choose either Upload Image to upload an image from a file or Link from Web to link a URL for the image.
- If uploading the image: after finding the correct file, click Open.
- If linking from a URL: after inputting the correct address, click Upload.
-
Ensure the correct customer name is being used in the Customer drop-down box. A selected customer’s name will be here by default.
-
Choose/Ensure the correct Proposal Type is being used in the corresponding drop-down box.
-
Choose the correct proposal item or work order in the Proposal Item/Work Order drop-down box
-
Click Save.
-
Repeat steps 3-11 for each picture to be added.
-
Click Save.
| Created by | Chris M. on | Feb-26-2016 |
| Last modified by | Matt R. on | Nov-13-2016 |