Sending an email
Solution No. 310
Video Tutorial
In all four tab links associated with the Activities tab, you have the option of sending an email associated with each activity. Here's a step-by-step breakdown of how to do that from the New Activity, New Appointment, New Task, and Log Call tab links.
-
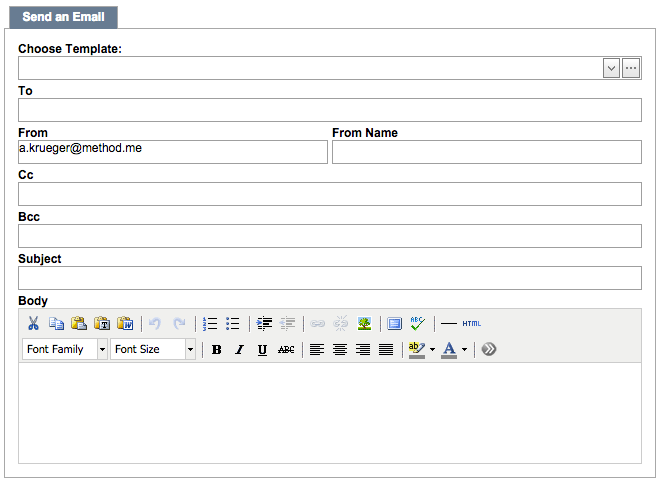
From the New/Edit screen, click the box marked Send an Email. This will bring up the Send an email screen on the right.
-
If you wish to use an existing email template, click the drop down menu marked Choose template. This will show you all existing templates in your Method CRM.
 |
Choosing a template will auto-fill certain fields, depending on the template used. |
-
If you do not wish to use a template, the only auto-filled fields are To and From, based on the user and the contact currently selected. Fill out any other information and the body as necessary.
|
You are able to use mail merge fields in Method. By default, the activity screen is set up to use the merge function, based on several tables, including:
- Users
- Vendor
- Company
- Customer
- Contacts
- Activity
- Opportunities
- Cases
For more information, please see the Mail Merge section of the documentation. |
-
Click Save, Complete & Save, or Complete, Save & New in the left-hand screen will save and send the email associated with this activity.
 |
Clicking Complete & Save or Complete, Save & New will also change the status of this activity to complete. |
back to top
back to top
| Created on | Jul-17-2013 |
| Last modified on | Feb-17-2016 |